Replacing a chainsaw chain may seem complicated at first. With the right tools and the use of proper techniques, it can be done at home at a minimal cost.
This is a quick guide on how to replace a chainsaw chain. You can learn how to know when a chainsaw chain needs replacing and what to avoid when making a replacement.
Contents
How to Check Your Chainsaw Chain
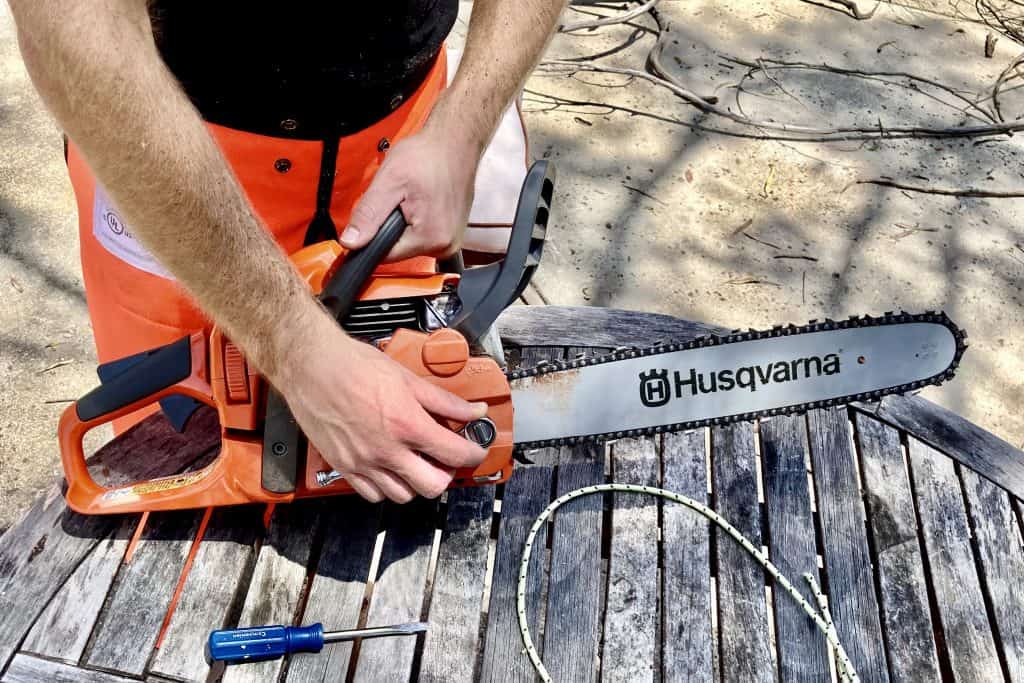
A chainsaw chain will not be able to effectively and accurately do its job if it is already worn out. This is true if there’s something wrong with it as well. This is the time that it will need to be replaced. On the other hand, you also don’t want to replace a chainsaw chain prematurely. It’ll be a waste of money.
There are several ways for you to determine whether or not your chainsaw’s chain will need replacing. Decide this before you move on to learn how to replace a chainsaw chain.
Signs the Chain Needs Replacing
Before you choose to replace your chainsaw’s chain, you first need to inspect your chain for these signs. They will indicate whether or not the chain needs to be changed.
- It’s difficult to maneuver through the wood: When a chainsaw is cutting through wood, it should need little force to maneuver and change directions. If the chain is blunt, it’ll need a lot more force to get the direction you want.
- It doesn’t pull itself into the wood: Another indication is when the chainsaw doesn’t physically pull its weight into the wood. A blunt chainsaw chain will require you to place a lot more pressure to cut through the wood.
- It creates crooked lines: Even with added force, if you’re chainsaw still produces crooked lines, then the chainsaw is definitely blunt and will need replacing.
- It emits smoke: A chainsaw that’s well aligned and that has good lubrication will never emit smoke unless it is already blunt.
- It contains broken cutting teeth: These are the sharp parts of the chain that cuts through the wood. These can be broken when it hits hard surfaces like rocks. If enough of these are broken, your chain will not function effectively.
- It has a loose chain: There will come a point when you won’t be able to tighten your chain anymore. If it is too loose, it is no longer safe to use. This needs to be replaced immediately.
If you find that your chainsaw’s performance is showing any of these signs, then it is time to replace your chain. Or, if you’re working with an older device, then you might opt to replace the entire tool. There are plenty of amazing yet cheap chainsaws on the market.
Signs that our Chainsaw Chain Needs Sharpening
Ask yourself a quick question before replacing your chain. Does it actually need to be replaced? Or, can it just do with sharpening?
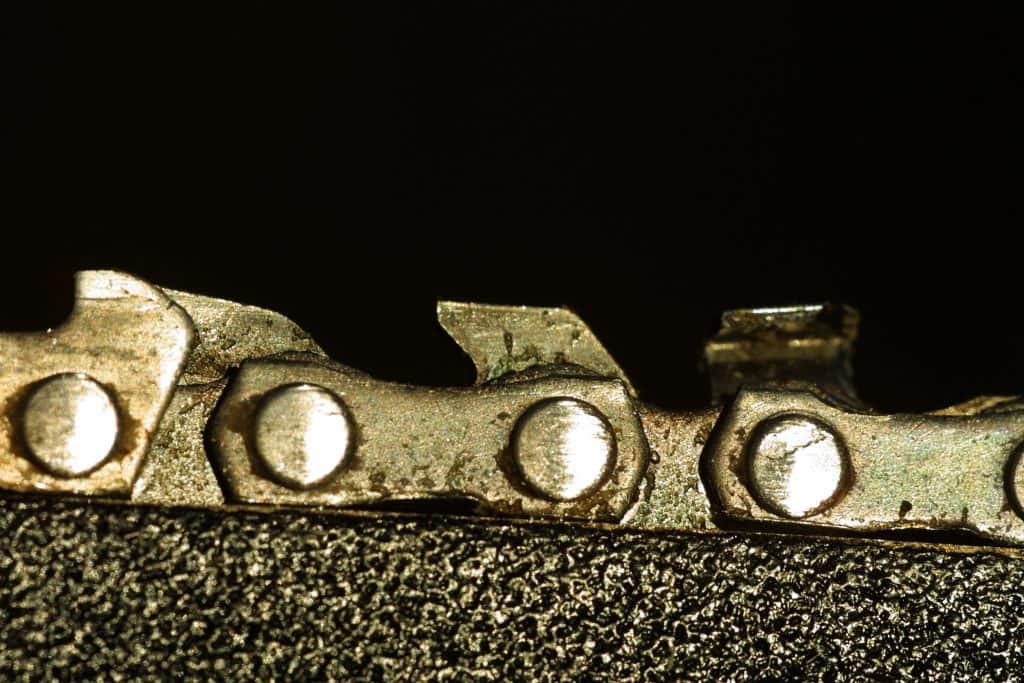
When to sharpen your chainsaw chain:
- Sharpen after every use: To get the best results, it’s advised by professionals to sharpen your chainsaw chain after every use. This will give the best performance out of your chainsaw.
- Sharpen when chainsaw is relatively new: If you bought your chainsaw brand new and have only used it from 10 to 20 times, the blade may seem blunt. In this case, it probably just needs sharpening rather than replacing.
If you’re using your chain to cut hardwood, then you’ll notice these things happening more frequently. Softer wood is easier for the chainsaw to cut.
Don’t make the mistake of replacing your chainsaw chain when the solution can be sharpening it.
How to Replace a Chainsaw Chain
At this point, you have determined your chain is need of replacement. Changing a chainsaw blade is unlike that of any other type of saw. First, you need to measure it and then replace it.
How to Get the Right Chain Measurement
It’s important to get the correct chainsaw chain measurements. You want to buy the right size chain for your replacement. If it is incorrect, you are risking wasting your money and damaging your chainsaw.
Expensive and mid priced chainsaws typically have longer chains, while chainsaws under $300 are more budget friendly and have shorter chains.
Different ways to get your chainsaw measurements:
- Look for the chainsaw measurements on the chainsaw bar: Most likely, they have their chainsaw chain measurements printed on the side of the chainsaw bar (guide bar). But there is a risk that it has been erased over time.
- Measure your chainsaw chain manually: You need to measure the Pitch, Gauge, and the Drivelinks. This needs to be accurate. As much as possible, take your time during this process.
- Remove the chain and bring it to the hardware store: Follow these steps to remove the chainsaw chain. Bring this with you to buy your new chain. Then, continue with the rest of the process.
These are effective ways of guaranteeing you get the right chainsaw size for your replacement.
Replacing the Chain on Your Chainsaw
You can choose to have a professional replace your chainsaw chain. That will come with a price. Doing it yourself is not that difficult. And it will definitely save you money. Follow these instructions to replace your chainsaw chain.
What you’ll need:
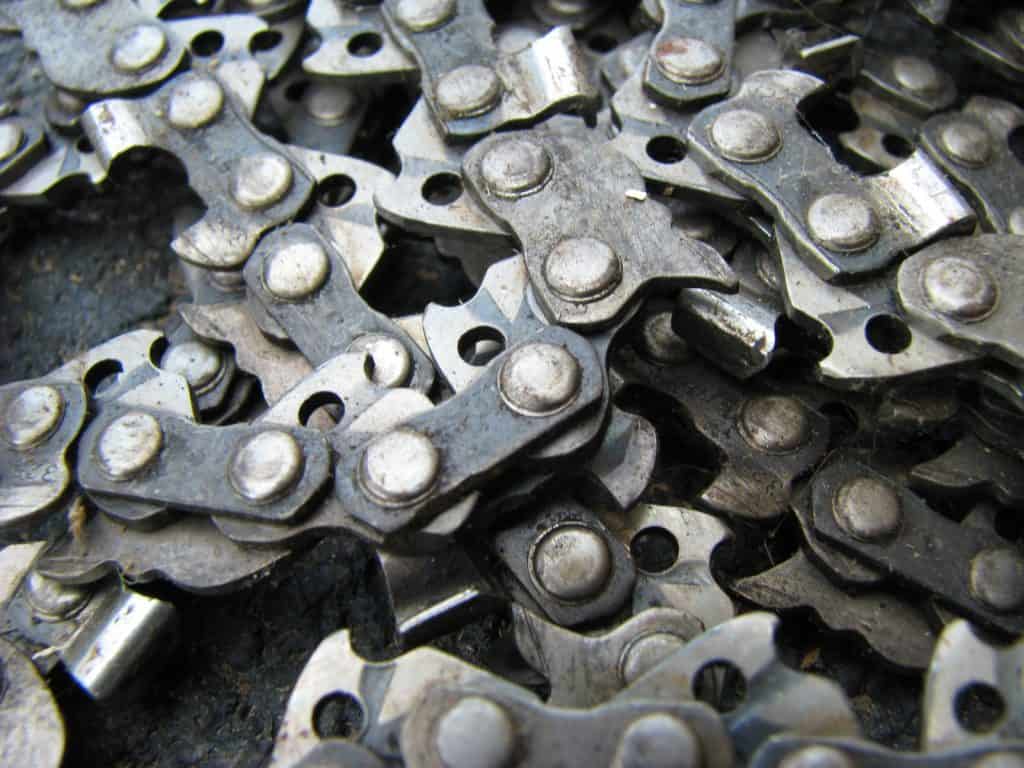
- A new chainsaw chain
- A pair of thick safety gloves
- Protective eyeglasses
- A worktable
- A spacious workspace
- A wrench
- A screwdriver
Instructions for replacing your chainsaw chain:
- Wear gloves: You need thick protective gloves when handling the blade and chain.
- Unplug the chainsaw: Make sure your chainsaw is not plugged into a power source.
- Let it cool down: If you’ve just used your chainsaw, give the chain time to cool down.
- Unlock the chainsaw break: The chainsaw break is the top handle of the chainsaw. It is what stops the chain from rotating around the bar. Unlock this by pulling the chainsaw break back, and move the chain in a parallel direction with the chainsaw bar.
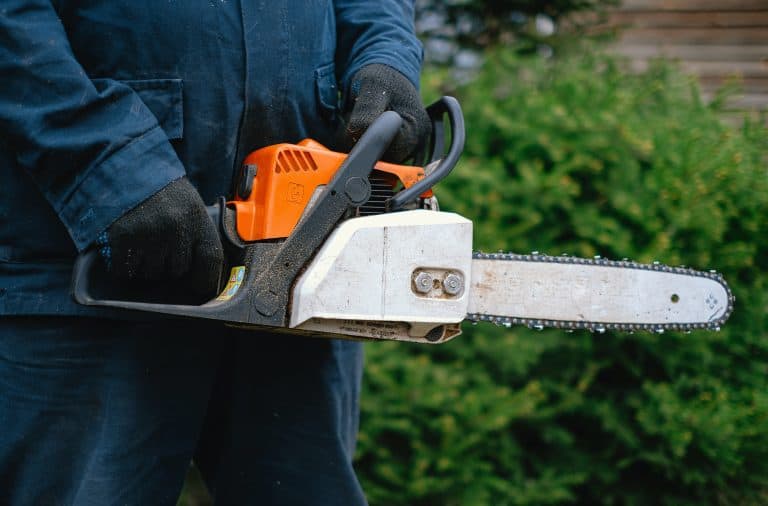
- Remove the side plate: The guide bar side panel can be found on the side of the chain plate, attached with two nuts. These two nuts can be removed by a wrench to remove the side plate. This will give you access to the entire chain.
- Pull the chainsaw bar from the sprocket: Remove the chainsaw bar away from the handle. The sprocket is the wheel where the chain is wrapped around. Pulling the chainsaw bar will release the tension of the chain.
- Remove the loose chain off of the chainsaw bar: You have to slowly maneuver the chainsaw, removing it from the chainsaw bar. Don’t force this. Rather, move it around removing each drive link one at a time. Put the old chain aside.
- Attach the new chainsaw chain: Start with wrapping the new chain around the rocket, and slowly connecting each drive link to the chainsaw bar. It’s important to remember to make sure that the drive links are facing forward.
- Place the chainsaw bar back on the sprocket: When the chain is completely wrapped around the chainsaw bar, slide the chainsaw bar back onto the sprocket.
- Reassemble the side plate: Position the side plate back and we secure the two nuts with a wrench.
- Tighten the tension screw: Tighten the tension screw enough so that your chain can barely be pulled off of the chainsaw bar. Test the chain and pull it alongside the chain bar to make sure it can move freely.
- Test your chainsaw: Keep your protective gear on. Wear protection around your eyes. Plug your chainsaw into a power source. Turn it on. Let it run for a few seconds. Then turn it off to check that the chain has not shifted position.
At this point, if you’re having any problems with your chainsaws performance, or the chainsaw doesn’t sound or look right with the new chain, seek the help of a professional. It’s always important to be safe.
Additional Tips for Replacing the Chain
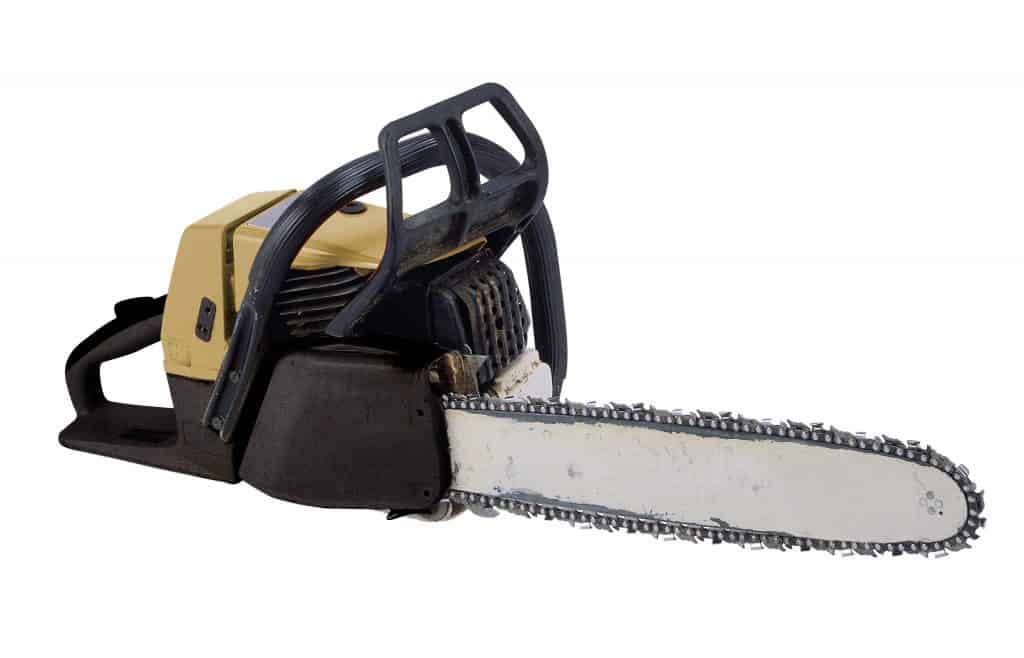
If you want to successfully replace your chainsaw chain, you’d want to avoid making any mistakes. To do so, you should follow these additional tips for replacing your chainsaw chain the correct way.
- Study the instructions carefully: Don’t rush the process. Unless you’ve done this before, it’s important to take your time to study the instructions listed above. These will help you understand every step.
- Understand the different parts: Make sure to study all the different parts of your chainsaw blade to guarantee that you do not mistake one part for another. This can be both dangerous and impractical when replacing your chainsaw chain.
- Take your time: This process can’t be rushed. If you only have a limited time to complete this, then you should postpone the project. Rushing through the replacement process can be extremely dangerous.
- Work away from kids or pets: The parts of the chainsaw you will be handling are dangerous and should not be exposed around your children and pets. It’s better to be in a safe and empty space when working on your replacement.
- Work with good light: You’ll be working on very intricate parts of your chainsaw. You’ll need good lighting to guarantee you do not make dangerous mistakes.
- Work on a stable and wide work table: You’ll need a worktable tall enough to work comfortably at while you are standing up. You want a surface stable enough to hold the weight of the chainsaw without moving. It needs to also be wide enough so that nothing falls off.
These tips also need to be considered if you want to know how to replace your chainsaw chain.
Conclusion
Follow these tips and instructions on how to replace your chainsaw chain the correct way. Don’t forget to check if a replacement is necessary, or if your chainsaw chain might only need sharpening. This will give your entire chainsaws performance a boost it needs to feel as good as new.
![Best Chainsaw Sharpener in 2023 – [Review & Buying Guide] 5 Best Chainsaw Sharpener in 2023 – [Review & Buying Guide] Best Chainsaw Sharpener](https://brandisawyer.com/wp-content/uploads/2020/06/B0002ZY1WG.jpg)
![Best Hole Saw Kit for Metal in 2023 – [Unbiased Reviews] 8 Best Hole Saw Kit for Metal in 2023 – [Unbiased Reviews] Best-Hole-Saw-Kit-for-Metal](https://brandisawyer.com/wp-content/uploads/2020/06/Best-Hole-Saw-Kit-for-Metal-768x407.jpg)
![Best Portable Band Saw in 2023 – [Compared & Reviewed] 10 Best Portable Band Saw in 2023 – [Compared & Reviewed] Best Portable Band Saw](https://brandisawyer.com/wp-content/uploads/2020/06/best-portable-band-saw-768x768.jpg)