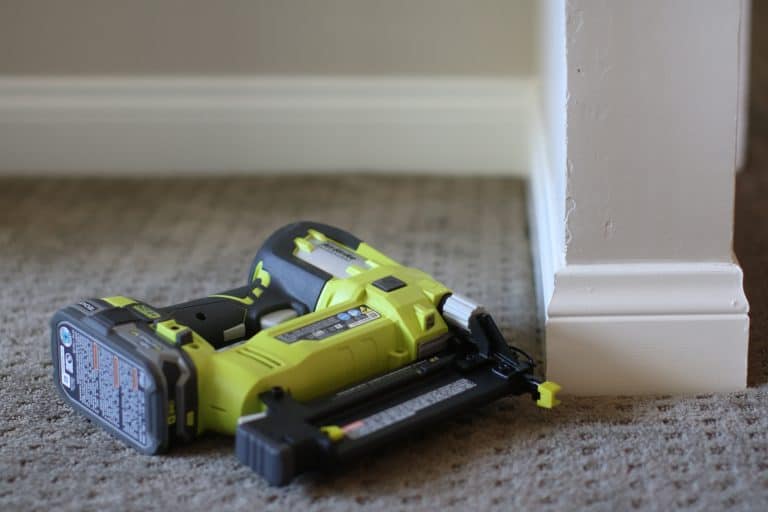
Pin nails are widely used by woodworkers, carpenters, and other craftspeople in situations where larger nails would risk splitting the wood. Due to the small size of pin nails, they are less visible and produce smaller holes than regular nails, which has left many woodworkers wondering how to remove pin nails from wood.
Contents
3 Ways To Easily Remove Pin Nails From Wood
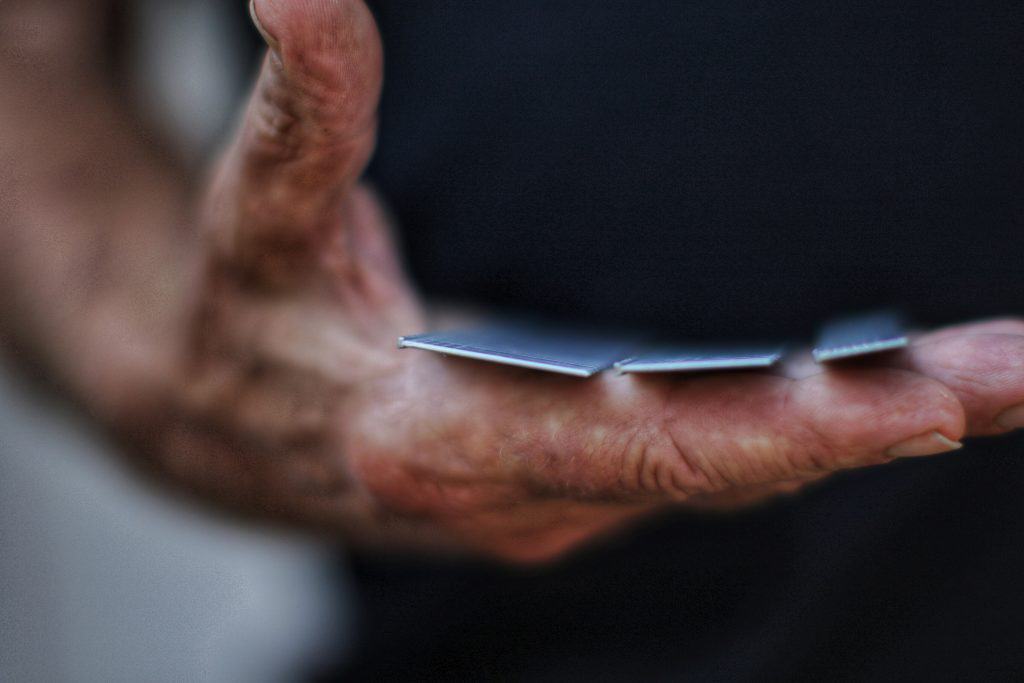
While pin nails are crucial for high-quality finished wooden products, they can be tricky to remove from wood. These headless pin nails function similarly to staples, with the best pin nailer used to drive the metal fastener into the wood. Unfortunately, the headless nature of these nails makes them somewhat tricky to remove.
1. Use Pliers to Remove Pin Nails
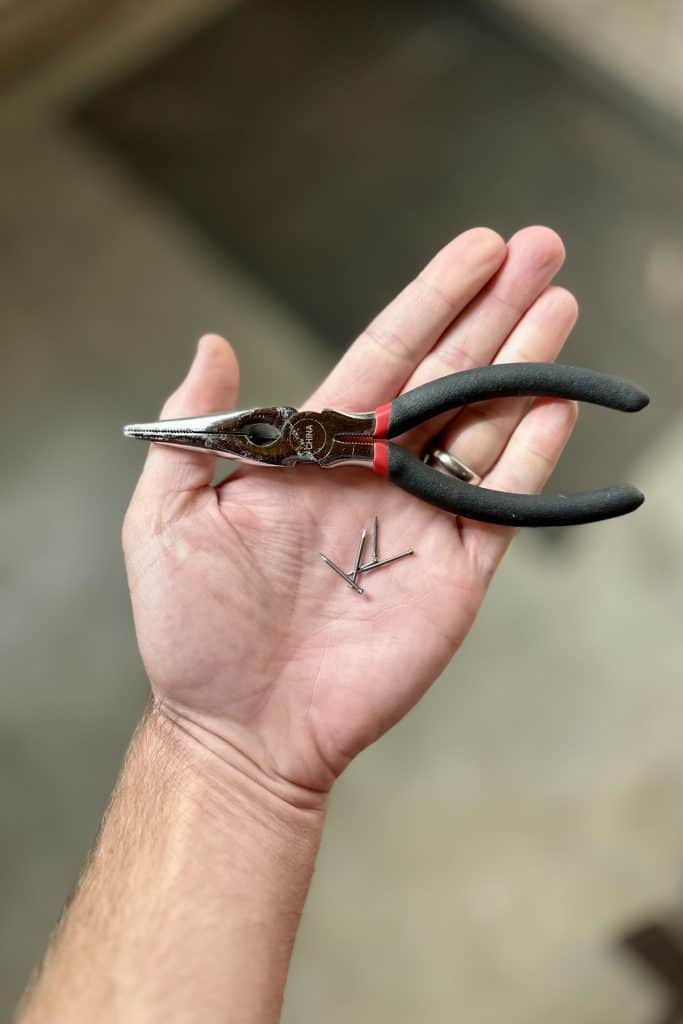
With this method, you’ll need needle-nose pliers and diagonal-cut pliers to remove pin nails from wood. Patience is key here, as you’ll need to carefully pry the pin nail free without damaging the surrounding wood. This method is ideal if you can only access the front part of the wooden surface to remove the pin nail.
Step One: If the head of the pin nail is still visible, you can skip to Step Two. If not, carefully use your needle-nose pliers to dig into the wood around the pin nail, ensuring the pliers’ tip is parallel to the nail. Press the pliers into the wooden surface, only going deep enough to grip the head of the pin nail.
Step Two: With the needle-nose pliers gripping the nail head, use a gentle wiggle motion to pull the nail upwards. It’s important to note you’re not trying to remove the nail yet! Only pull the pin nail upwards until roughly 1/16 inch of the nail head is peeking out of the wood.
Step Three: Grab your diagonal-cut pliers and hold them so that the rounded side of the pliers is facing down. Carefully close the open mouth of the pliers around the pin nail, ensuring you don’t cut the nail. Once you have a solid grip on the nail head, use a wriggling motion to pull the nail.
Step Four: You’ll need to rock the diagonal-cut pliers back and forth to extract the nail. Adding some leverage can help remove the headless nail more easily. Try placing one hand on the wood while the other uses the pliers to wriggle the pin nail from the wood.
Step Five: Leverage is lost as you pull the pin nail further from the wood. To regain your leverage, reposition your pliers around the part of the pin nail closest to the wood. You can continue wriggling the nail until it comes out of the wood!
2. Push the Pin Nail Further Into the Wood
Rather than pulling a nail out of the wood, it’s possible to push a pin nail through it. You’ll need a nail kit for these steps. This method is ideal if a nail is deeply embedded in the wood, provided you have access to both sides of the wood. These steps also prevent damaging the surface of the wood.
Step One: A spring nail set is a woodworking tool that comes in handy for removing finishing nails. Since pin nails are the smallest type of finish nails, you must purchase a nail set that will work with small nails. Leinuosen’s set is ideal since it contains two multipurpose removal tools.
Step Two: You’ll need to choose the appropriate tool from your nail removal set. If you’re using Leinuosen’s kit, use the 1/32-inch head with the removal tool. The smaller the tool’s diameter is, the better it will be at pushing pin nails through wood.
Step Three: You need to mount your wood to ensure the back surface is exposed. Once you’ve lined the nail removal tool up with the hole left by the pin nailer, you can activate the spring to push the pin nail through the wood. Pliers can be used to finish extracting the nail from the back surface.
3. Remove Pin Nails With a Nail Removal Tool
While many pin nails are headless, there are some available that have small nail heads. If you want to extract a small finishing nail with a head – including this pin nail variant – you can use a specialized pliers-like nail removal tool.
Step One: You must purchase a nail removal tool for this method. The Bates Choice nail/staple puller is ideal, as you’ll be able to use it with thin finishing nails. This tool is designed so that the jaw perfectly lines up with the wood’s surface, letting you extract nails without damaging the wood.
Step Two: Unlike the first pin nail removal method with pliers, the head of a nail puller should be positioned so that the flat part of the jaw is facing straight down. Open the jaws and clamp over the finishing nail’s head.
Step Three: Use a pulling motion to gently extract the headed finishing nail from the wood. You might need to wriggle the tool or add some leverage while removing the pin nail. Since the Bates Choice nail puller can even remove staples, you shouldn’t have difficulty removing the small pin nail!
Frequently Asked Questions
Why Are Pin Nails Difficult to Remove From Wood?
Not only are pin nails small, but they are headless. This design means pin nails can’t be removed as easily as larger nails with visible heads. These nails are commonly used by a nail gun with fragile materials and wood, which makes it tricky to extract pin nails without damaging the wood.
Can You Leave Pin Nails in the Wood?
You can leave pin nails in wood since pin nailers do not leave a noticeable hole after nailing a piece of wood. These small nails can help maintain the strength of the wood, which is why many people use wood glues in conjunction with pain nails to further increase the wood’s strength.
Is It Possible to Make Your Own Nail Removal Tool?
With the first method, you need two types of pliers to remove the pin nail. It’s possible to modify a pair of diagonal cutters with a belt sander to create a specialized finishing nail removal tool. This YouTube video outlines the process!
Conclusion
There are three methods to remove pin nails. If you only have access to one side of the wood, use pliers to extract headless pin nails. Alternatively, use a specialized nail kit to drive a pin nail through the wood to remove it from the backside. There are also nail removal tools to extract headed finishing nails.
