Wood has been used as a construction material for interior, exterior, and furniture applications for over 10,000 years. Its beauty and durability make it a natural choice, but one factor inevitably gets in the way of longevity: water. Protect your wood items from water by learning three foolproof waterproofing methods.
Contents
Methods for Waterproofing Wood
Wood is hygroscopic – it absorbs water from the surrounding air – and when it gets soaked, swelling, distortion can occur. Over time, mildew, mold, and rot become concerns. Caring for wood requires that you protect it from water and moisture damage.
Luckily, there are many products that can achieve this goal. We’ve grouped them into three categories – keep reading for more information and detailed instructions.
How to Waterproof Wood With a Drying Oil
Drying oils are naturally occurring substances that soak into the cellular structure of the wood, then shrink as they dry, creating a flexible barrier within the wood’s surface. The two most frequently used drying oils are:
- Linseed Oil: Linseed oil is derived from flax seeds. On its own, it takes weeks to fully dry. When mixed with mineral spirits, the drying time is shortened to days or even hours.
- Tung Oil: Tung oil comes from seeds contained in the nuts of the tung tree. It is available in traditional and dark formulations. Mineral spirits are used as a solvent to shorten dry time.
Waterproofing with Drying Oil
To complete this project, you’ll need a natural bristle paintbrush, your oil blend, and a stack of clean, lint-free rags.
- Choose an oil blend. Purchase a pre-blended product or make your own (see the section below). Stir the product thoroughly.
- Sand and clean your wood. The wood you’re waterproofing should be smooth to the touch from sanding and free of sap, dust, and dirt.
- Brush on. Use a natural bristle paint brush. Dip it about one third of the way into your oil mixture, and transfer the substance to the surface of the wood. Aim for good coverage in all the nooks and crannies.
- Watch and wait. Some areas of the wood may quickly absorb all the oil, while in other spots it may sit on top of the wood. After a few minutes, apply extra oil to any dry patches.
- Rub it out. Use as many clean, dry rags as you need to wipe off any residual oil. Change to a clean area of the rag as it becomes saturated. Hang the rags flat to dry when you’re done using them, and don’t throw them away until they’ve fully dried. Wadded-up, oil-soaked rags in a closed container carry the risk of spontaneous combustion.
- Allow to dry. The more oil in your mixture, the longer it will take to dry. You can start checking after a few hours, but be prepared to wait up to a full day before the surface is no longer tacky.
- Lightly sand. A gentle pass with fine-grained sandpaper is all that’s necessary to prepare the wood for a second coat of oil. Run a tack cloth over the surface to collect the dust generated by sanding.
- Re-coat, if desired. You can use the same blend, or change up your formulation, depending on the results you’re looking for. It’s rare to apply more than two or three coats of drying oil finishes. Because these products seep into the wood rather than forming a film on the surface, there is a point at which more coats don’t equal more protection.
How to Waterproof Wood With a Sealing Wood Finish
Wood finish is a broad category that includes several similar products, with slight variations. The most common moisture-repelling wood finishes are:

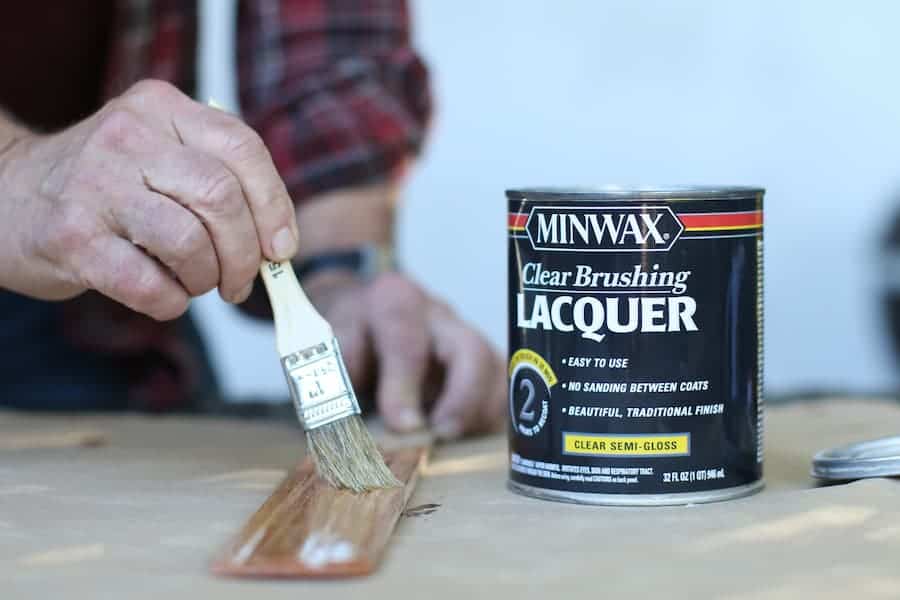
- Lacquer. Lacquer can be clear or pigmented. It contains resin, and dries through the use of solvents. Depending on the formulation and application, lacquer can dry to a high gloss or be rubbed to a matte finish, giving you many options.
Lacquer is a durable and attractive coating that is easily wiped clean, although it is commonly sprayed on by professionals. It holds up well to splashes and drips, and is often used in bathrooms and kitchens.
It’s one weakness is a vulnerability to minor scratches as it ages, which can allow small amounts of water to penetrate the surface to the wood below.
Lacquer dries quicker than other finishes, in about 15 minutes after application. Brushing it on requires patience and expertise. Spraying lacquer with a high-quality HVLP spray gun is the best way to get an even finish.
- Varnish. Varnish also contains resin and a solvent. It dries much more slowly than lacquer, taking several hours to an entire day. The longer open time makes lacquer ideal for brushing onto wood. While varnish is slightly less protective than lacquer, it tends to last longer without scratching, providing more protection against water in the long term.
- Polyurethane. Polyurethane is a subcategory of varnish. Of the three finishes mentioned here, it lasts the longest and provides the most protection. It also will not yellow with age, so it’s perfect for use on light-colored woods. It can be tricky to apply – bubbles are common, even when you don’t shake the product. You’ll need to thin it if you don’t want it to look plasticy. You can also spray polyurethane if you have the right tools.
Waterproofing with Sealing Wood Finish
Sealing wood finishes are film-forming finishes. Rather than soaking into the wood, like drying oils, successive coats serve to build up a layer of protection on top of the wood.
- Start with clean, smooth wood. Sand the wood thoroughly before finishing, working your way up to 220-grit sanding paper. Remove excess dust with a tack cloth or a highly rated wet/dry vac.
- Brush, spray, or wipe-on. Polyurethane and varnish are usually brushed or wiped, while lacquer is best applied with professional spraying equipment. Rattle-can lacquer is also an option for smaller projects.
- Wait. Lacquer can be recoated in as little as 15 minutes. Water-based polyurethane takes just a few hours to dry. Oil-based poly or varnish takes longer – allow 12 to 24 hours. Wood sealer dry times vary dramatically depending on the sealer you choose.
- Scuff the surface. Scuffing the surface with fine-grained sandpaper between coats helps the next coat stick.
- Build coverage. Two to three coats of oil-based finish should be sufficient, while water based varieties may require four to six coats. Lacquer is applied in very thin concentrations, and it’s not uncommon to lay down ten or more coats to provide sufficient coverage.
How to Waterproof Wood With a Sealing Stain
Sealing stains add color and protection to wood in a single step. They are intended for wood that will be exposed to the elements, and provide heavy-duty protection from water. Even the highest-quality sealing stains must be reapplied frequently, usually every year or every other year.

Waterproofing with Sealing Stain
Stain is very easy to apply. Quickly and easily protect your exterior decking with a stain/sealer combination.
For outdoor environments that need a sealant, opt for an oil-based stain.
- Sand and clean the wood. A clean, smooth, and dry surface is required for the sealing stain to adhere to the wood.
- Watch the weather. Wait for perfect conditions to seal your deck, if possible. The humidity should be less than 70%. Ideal temperatures would be 70 – 75 degrees Fahrenheit.
- Brush or roll on. A lambswool roller provides quick and even coverage. Railings and spindles can be more effectively coated with a brush.
- Wait to dry. Many stain/sealer combinations are one-coat products. Follow the manufacturer’s instructions about how long to wait to dry and whether to re-coat.
You can also spray your stain if you have a large area that you’re working with.
If you don’t want to stain or seal, you can also paint your wood and get similar protection.
What Should I Use to Waterproof Wood?
- For light-colored woods, avoid the use of drying oils. Dark tung oil will significantly change the color of your wood as it ages. Both tung oil and linseed oil have a tendency to yellow as they age. The effect is hardly noticeable on dark-colored wood, but sticks out on lighter tones such as birch, ash, and pine.
- To protect furniture, choose a wood finish. Not only do these products help protect your pieces from moisture damage, they create a protective film to help fend off dings, scratches and scrapes.
- For exterior decking, a sealer is the best choice. The flat surface of a deck is completely exposed to the weather. Rain and snow may sit on the surface of the deck, and it’s not uncommon for wet leaves to build up in the corners. All this calls for an enhanced level of protection to keep the wood from warping or rotting, and sealer provides just that.
Make Your Own Drying Oil Blend
At any hardware store or home improvement center, you will find pre-blended oil finish products. They are often referred to as ‘wiping’ finishes. You can also make your own blend at home. There are three ingredients to consider:
- Oil. Tung oil or linseed oil are the two most common options, but you could also use walnut oil. Use more oil for a thicker coating that adds depth.
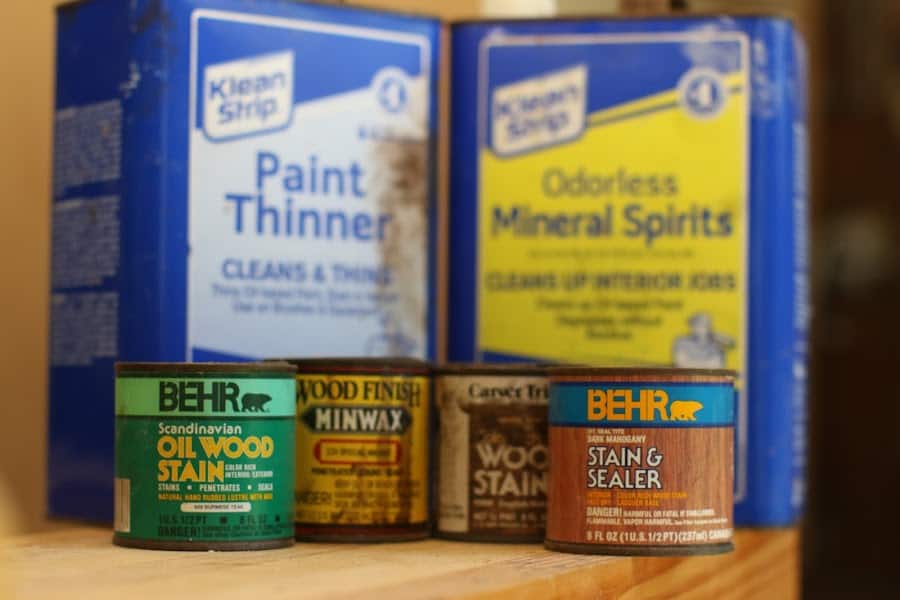
- Solvent. Mineral spirits are the best choice for speeding the dry time of these two oils. Turpentine and naphtha are also options. Start by keeping the amount of solvent proportional to the amount of oil in your blend. You can add more solvent if you desire a thinner finish.
- Polyurethane. Polyurethane will also help the oil finish dry more quickly. One-third poly, one-third solvent, and one-third oil is a great blend to start with. Polyurethane will lend some protection against impact damage, along with a glossy shine.
Conclusion
Three options for waterproofing wood are; drying oils, sealing wood finishes, and stain/sealer combos. While each category of product has different attributes, the application process is similar for all three options: apply to clean, smooth wood, ensure adequate coverage or penetration, and allow sufficient dry time.