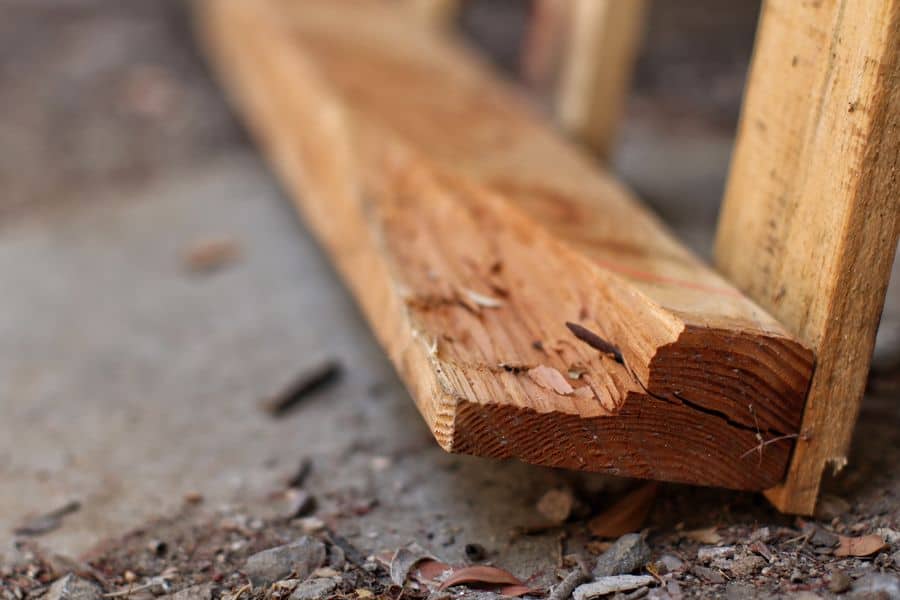
Rot, insects, and moisture threaten the integrity of wood. Lumber yards regularly treat wood to protect it from these vulnerabilities, but you can also treat wood at home.
In this article, you’ll learn the best methods for protecting wood, no matter how you’re using it or what you need to protect against. We’ll teach you how to treat both seasoned and unseasoned wood, wood that is already infested, and how to protect wood that will be in sustained contact with the ground.
Contents
Treat Unseasoned Wood With a Water-Borate Solution
Soaking wood in a solution made from borate powder and water repels pests and prevents rot, fungus, and mildew from taking hold. This method is best for unseasoned wood that will not be exposed to the elements, as water or rain will cause the borate to leach out.

- Prepare the wood for soaking. You can soak multiple boards or planks in the same solution. Cut a thin slice off of each end of the boards, exposing raw grain. This is especially important if the ends of your plank have been painted, as the paint will block the absorption of the solution. Revealing the end grain allows the long, straw-like cellular structure of wood to suck up the solution, fully penetrating the wood.
- Build a trough. The trough should be at least a few inches longer than the longest piece of wood you plan to treat. The wider and deeper the trough is, the more wood you will be able to treat at one time. Use a thick plastic sheeting to cover the trough and hold the borate solution.
- Mix a borate solution. Borate is usually sold as a powder that easily mixes with water. Different products will have different instructions about how much borate and water to use. Follow the instructions on the package to mix the wood-treatment solution. Pour it into the trough.
- Soak the wood. Lay the wood in the borate solution, making sure it is completely submerged. Leave the wood in the solution for at least the time recommended on the package. Generally, two soaks are recommended, with time for the wood to dry in between.
- Dry the wood. Stack the wood to dry in an area free from sunlight. The borate solution should dry naturally, without help from the sun. Use thin strips of wood to lift each treated plank off the one beneath it, allowing ample air circulation above, below, and around the lumber.
- Repeat steps four and five. To provide the best and longest-lasting protection from rot and pests, the wood should be soaked twice, after being allowed to fully dry between baths. You can use the same bath to treat wood multiple times, simply top it up with water and additional borate powder as necessary.
- Finish the wood as normal. Once dry, the wood will accept paint, stain, or any kind of finish. For best results, stain or paint every face and edge of the wood, including the end grain. This will provide an additional layer of protection and help lock in the borate treatment.
Treat Seasoned Wood With a Glycol-Borate Solution
Seasoned wood requires a slightly different approach. Instead of a powder and water solution, use a glycol-based solution. The thicker substance does a better job at penetrating dry wood.
- Prepare your work area. If you’re treating wood that is already in place, such as an existing deck or porch, it is important to protect the ground and plants nearby from borate run-off. Borate is a non-selective herbicide that is toxic to plants, so cover them in plastic sheeting and be mindful of drainage.
- Mix the glycol-borate solution. Pour propylene glycol into a large saucepan. Add granules of boric acid, stirring with a metal spoon to dissolve the granules. For extra absorption, perform this step over low heat. Continue adding boric acid until the mixture starts to crystallize. Then, add a little bit more propylene glycol to stop the crystallization, and remove the mixture from heat.
- Dilute the glycol-borate solution. Choose a clean container. Mix the solution with equal parts water to form a brushable substance. Once the solution has been diluted, it cannot be stored, so only dilute enough for the upcoming work session. Undiluted solution can be stored in an airtight container.
- Apply the glycol-borate solution. Use a brush to transfer the solution from the container to the wood, aiming for an even, thick layer. Shield the wood from the sun and allow the solution to penetrate the wood. Unseasoned wood contains moisture that will draw the borate into the center of the plank or board. Seasoned wood, which is dryer, relies on the glycol solution for penetration. Wait for the wood to fully dry.
- Finish the wood, if desired. The wood may initially appear to be a darker color after the glycol-borate solution is applied, even a few days after it has dried. Wait until the solution is completely absorbed and the wood has returned to its original color before adding paint or stain. A water seal like lacquer (for indoors) or varnish (for outdoors) can be applied for additional protection against moisture. This will also prevent the borate from being washed away by rain or snow.
Treat Infested Wood With Concentrated Borate Gel

Ideally, you would protect the wood from termites and other pests before using it for construction. Where termites have already taken up residence, you can use a concentrated borate gel to eliminate them.
- Decide if you need a professional. If the termite infestation is widespread, your entire home may need to be tented and fumigated. This method is best for termite infestation that has been discovered in the early stages, and is limited to a single door or window sill.
- Drill small holes in the affected area. There is no need to strip the wood before treating it with concentrated borate gel. Instead of being applied to the surface, the gel is injected into holes drilled into the wood. The packaging will include instructions on how far apart the holes should be, as well as their size. As a rule of thumb, injection sites should be drilled about ½ inch in diameter and at least three inches deep.
- Inject concentrated borate gel. Most concentrated borate gels come in a canister that can be fitted to a caulking gun. Insert the nozzle of the canister into the pre-drilled hole, and squeeze the trigger of the caulking gun to release the gel.
- Seal the holes. Use wood putty, cork, or plugs to seal the hole, trapping the borate inside. The gel will move toward moisture, which includes the wet, muddy tunnels created by termites. When the termites ingest the mixture and bring it back to their next, the entire colony will die. Note that this is only a solution for infestations in the beginning stage, and should not be your only termite-prevention method.
Treat Ground-Contacting Wood With Borate Rods
Follow these steps to insert borate rods before burying wood underground. Borate rods will continue to release boric acid into the wood each time it gets wet, providing long-lasting and self-renewing protection to wood that will be in constant contact with the ground.
- Treat the wood. Using the instructions above, apply a first-line treatment of water and borate or a glycol-borate solution. Allow the wood to fully dry.
- Drill holes in the bottom surface of the wood. For a support post, drill the holes in the end grain of the wood. For garden edging, decide which edge or face will be buried underground. Most borate rods are about two inches long, and slightly less than ½ inch in diameter. Holes should therefore be about three inches long to allow room for the plug, and ½ inch in diameter for a snug fit.
- Insert the borate rod and plug the hole. The rod should slip easily into the pre-drilled hole. For large round or rectangular beams, you can drill a deeper hole and insert two rods. Each rod comes with a plastic plug. Insert the plug into the hole, trapping the rod inside. Use a screwdriver to insert or tighten the plug if necessary.
- Cover the plug. Use wood putty or a stainable wood filler to restore the smooth, even surface of the wood, hiding the plug from view. Choose a product similar in color to the surface of the wood. Use stain to finish the wood if desired. A top coat of exterior varnish or water sealant adds extra protection.
Treat Wood Siding and Foundation Walls With a Borate Spray
To provide the greatest protection against pests, it is wise to treat any wood that is below ground level, or up to three feet above the surface. This includes exterior foundation walls and wood siding.
- Choose an applicator. The simplest way to apply a borate spray is with a handheld spray bottle. For a quicker and more even application, a pump-up or compressed air sprayer will do the trick. You can use a cone or fan spray tip. Airless sprayers are not appropriate for this method, as the super-fine mist they create can be blown away by wind. Should the airless spray make it to the surface of the wood, it is likely to evaporate before full penetration occurs.
- Mix the concentrate with water. If using a sprayer, mix the borate in a separate container, as the thick, concentrated borate can block hoses and spray tips. Warm water will help the concentrate dissolve more quickly and easily. If using cold water, you may need to stir vigorously to achieve the appropriate mixture. Follow the dilution instructions on the borate concentrate packaging.
- Fill the sprayer with the borate mixture. After allowing the container of borate and water to settle, undissolved particles will drift to the bottom. You can then ladle a clear, perfectly mixed solution from the top of the container into your sprayer. From the time the solution is mixed, you have about 12 hours before the borate begins to separate. Make sure to apply the mixture within this time.
- Spray the borate mixture. Being careful to avoid bushes, grass, or flower beds, spray an even coat of borate solution on any wood siding or foundation walls within three feet of the ground. Start at the bottom, and work your way up. The solution should be thick enough to cling to the wood without dripping or running. Do not saturate the wood with water before spraying, as it will not be able to absorb the excess moisture and the borate solution will simply wash away.
- Saturate log ends. The end grain of wood is the most absorbent area. For logs or beams with exposed ends, keep spraying until the log can’t absorb any more solution. The cellular structure of the log will allow deep penetration of the borate, providing extra protection at this vulnerable point.
- Apply a water seal. Rain or snowfall will rinse the borate solution out of the wood, undoing your hard work. To prevent this, wait for the wood to fully dry, then apply a top coat to seal the wood. The water seal should be applied every six years to keep the protection strong.

How Does Borate-based Wood Treatment Work?
Borate is a non-toxic salt that has been used to safely treat wood used for interior construction for more than 70 years. It effectively prevents fungus, mildew, and rot from degrading wood. It also repels termites and other insects that like to snack on your lumber.
Harvested from Death Valley and the salt flats of Chile, borate is non-toxic, at least in the amounts used to treat wood. This makes it much more attractive as a wood treatment than chromated copper acetate (CCA), which requires a mask to safely cut and releases toxic chemicals when burned.
Why Borate?
Pressure-treated wood has superior resistance to damage, but this impregnates the wood with toxic chemicals that are especially dangerous to children.
Additionally, pressure-treating can only be completed in an industrial setting, while borate-based treatments can be completed at home. Borate is a non-restricted substance, so no special permission is needed to purchase or deploy this powerful protectant.
Borate is non-toxic to humans, but incompatible with life in insects. It doesn’t kill them right away, however – it mixes with the cellulose they’ve ingested as they chomp on your lumbar.
Then, the cellulose and the borate it contains are brought back to the nest, colony, or carton, where they are fed to other insects. After a few days, the enzymes in the abdomen of the insect are affected and death is the result.
While borate can handle unlimited rewetting cycles and changes in atmospheric humidity, saturation will cause the borate to migrate and potentially wash out of wood into the ground. Not only is this toxic for plants, it leaves the wood unprotected.
Treat Wood Against Water
Decks, porches, and exterior steps built from wood are a beautiful addition to your home. To keep them from warping, eroding, and rotting when exposed to the elements, it is necessary to seal the wood from water.
- Wash the wood. Debris on the wood can interfere with the absorption and adhesion of water sealing products. It is important to clean each surface that will be receiving a seal coat. Using soap, water, and a stiff bristled brush, scrub the wood to remove any sap, pitch, dust or dirt the lumber has picked up.
- Sand the wood. Use 250-grit sandpaper. If you’re treating just a few boards or a small area, you can use sanding paper backed by a sanding block. For a full deck, an orbital power sander will produce more even results in significantly less time. You can also opt to modify and use an angle grinder. Smooth the entire surface of the plank or board.
- Remove the dust. Use a vacuum to suck up the majority of the dust left behind by sanding. Then, run a tack cloth over the surface of the wood to grab any remaining dust or fibers. You now have a clean, smooth, and dust-free surface that is ready to accept a sealant.
- Apply a water seal. A paintbrush, roller, or paint sprayer can be used to apply sealant. Generally only one coat is needed as long as you are thorough. Make sure the entire surface of the wood is coated in sealant. A single missed spot can allow water to penetrate the wood, making it vulnerable to freeze/thaw damage and, if left untreated, eventual rot.
- Wait for the seal coat to dry. The seal coat may take between several hours and a full day to completely dry. Until it has fully dried, keep wood away from sources of moisture, and be sure to store it inside.
- Finish the wood, if desired. Stain or paint can be applied over a water sealing product. Applying a final coat of varnish can provide additional protection, as well as beautifying the wood.
Conclusion
Wood seal, varnish, or borate can be used to protect wood. Fungus, mildew, rot, and pests are the major threats to wood, while water can affect its structural integrity. A water seal or exterior varnish will provide surface-level protection from these threats. For a deeper level of protection, treat the wood with borate.