Varnish is a liquid finish that cures to a hard gloss. It is naturally transparent, though some varieties have an amber glow. Varnish is used to protect and seal wood furniture, objects, and constructions, and to enhance the natural grain of the wood.
In this article, you will learn how to choose the right varnish for your project, and how to apply it.
Contents
How to Apply Varnish to Wood
With the right supplies and these easy-to-follow instructions, you can build a beautiful, durable, hard and glossy finish using varnish.

- Set up your workspace. Varnish emits stinky fumes. When inhaled, varnish fumes can cause short term effects such as dizziness, headaches, and drowsiness. A well-ventilated space is a prerequisite for this project. Working outdoors is an efficient solution, though it requires attention to dust, dirt, and bugs that may get stuck in the varnish as it dries. You should not expose drying varnish to direct sunlight, as it will dry too quickly. If you work inside, open all the windows and doors. Set up fans if you have them, but direct them away from the surface of your workpiece.
- Protect yourself. Even short term exposure to varnish can irritate the skin. Use nitrile gloves to protect your hands when varnishing woods. Long sleeves or coveralls are another good protective option. Wear a well-fitting, respirator-type mask. Eye protection is an absolute must when varnishing wood. If varnish gets into the eye, blindness can occur due to sores on the cornea.
- Sand the wood. Using a fine grain sandpaper, gently sand the wood in the direction of the grain. Any sanding paper between 120 and 220-grit is considered ‘fine grain’. Use light pressure when sanding the material. The goal is not to remove material, simply to lightly scuff the surface. Varnish adheres best to wood that is even, but not perfectly smooth. Remove all traces of dust from the surface to be varnished using cheesecloth coated in wax, also known as ‘tack cloth’.
- Orient the workpiece. If possible, lay the workpiece flat. This will minimize drips and runs while applying the varnish. If you are varnishing furniture, orient it so that the most visible surface is laid flat.
- Choose the right varnish. Spar varnish is best for boats and high-moisture environments. Acrylic resin provides a clear coat with UV protection. For the hardest finish, use a catalyzed varnish. See the section below for education and guidance about how to choose the right varnish.
- Consider adding tint. Oil-based stain can be added to oil-based varnish for a homemade tinted varnish. If you will be using tinted varnish, you must be very precise when thinning the varnish to avoid differences in color. Like paint, it may be best to mix and tint all the varnish at once. Although we generally advise mixing only as much varnish as you will use in a single work session, there are ways to store excess varnish.
- Plan for storage. When exposed to the air, the solvent in varnish begins to evaporate, initiating the hardening process. For this reason, it is important to store excess varnish in an airtight container, without a reservoir of air. There are sprayable products that block oxygen, or you can simply raise the level of the varnish to the rim of the container by adding glass marbles.
- Choose a solvent. Mineral spirits are the best solvent to use. Turpentine can be used to thin varnish, but it’s less desirable due to it’s slow dry time and pungent aroma. Naphtha evaporates quickly, shortening the dry time. If you’re not experienced with varnishing wood, this may not give you enough time to clean up drips before they start to harden.
- Mix the varnish. If you’re using a post-catalyzed varnish, jump to the section below. If you will be brushing on varnish, use a ratio of three parts varnish to one part solvent. For a ‘wiping varnish’ that will be applied with a rag, increase the amount of solvent to 50%. The thinner your varnish is, the more slowly the finish will build, but varnish that is too thick will be gloppy and unusable. Humidity also affects the rate at which solvents evaporate, so you may find that you need more or less thinner depending on the weather.
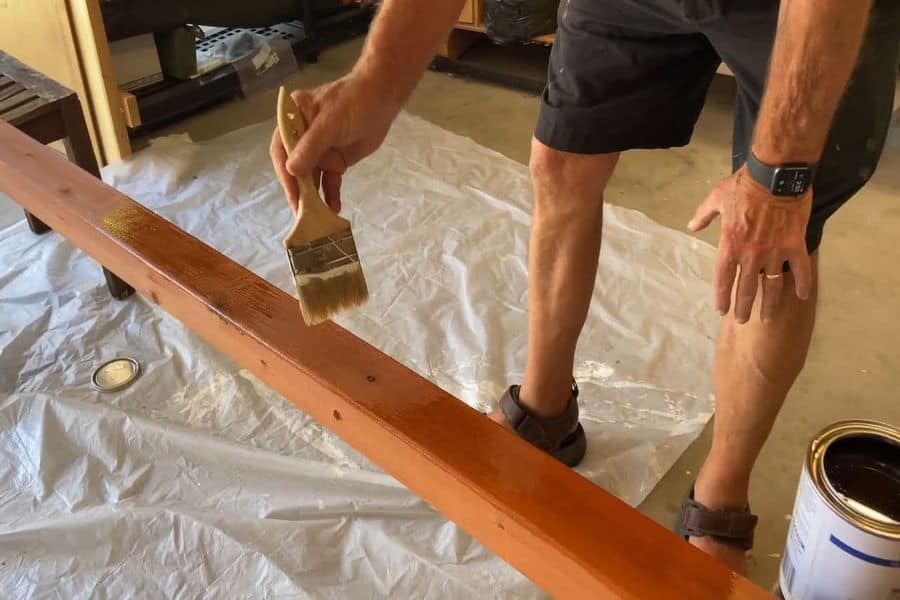
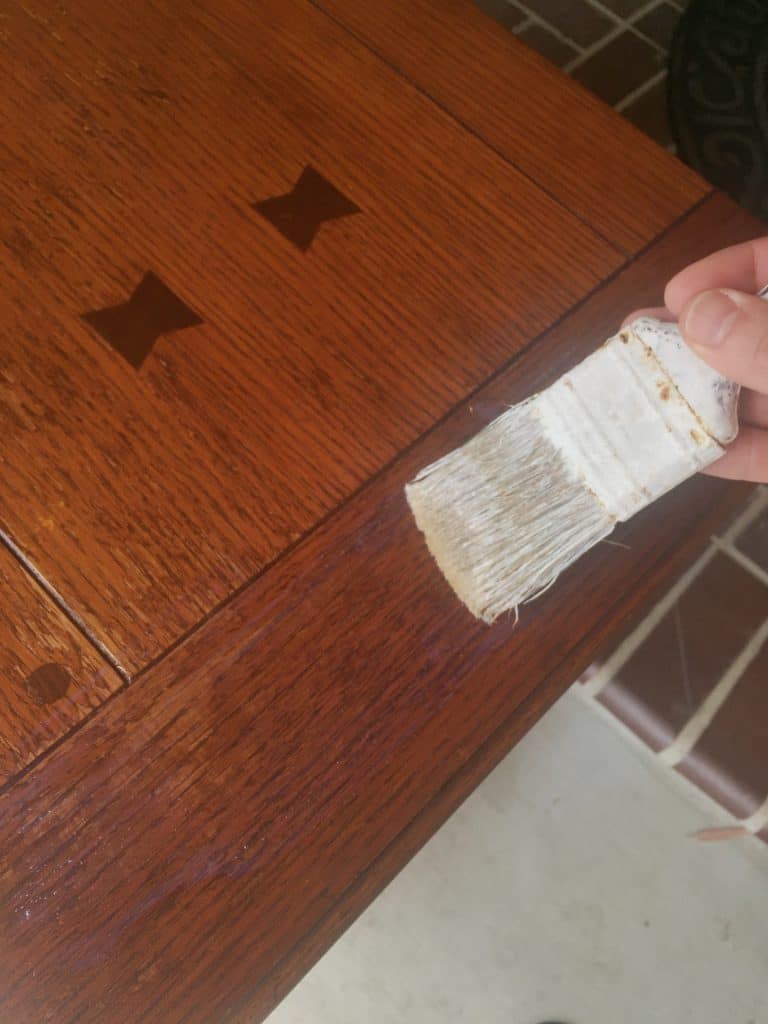
- Apply a sealer coat of varnish. Working in small areas, apply the varnish with a brush or a rag. Wipe or brush on the varnish against the grain, then immediately brush or wipe over the same area, with the grain this time. Allow this first coat to dry overnight. In the morning, the varnish should be dry to the touch, with no sticky or tacky areas.
- Sand the varnish and add more layers. Use fine grain sandpaper and lightly sand the workpiece, moving with the grain. Wipe the workpiece with a tack cloth before adding subsequent coats. Brush or rub on varnish in the direction of the wood grain. As you build the finish, adjust the ratio of your varnish to include less solvent and more varnish.
- Finish the varnish. Plan to apply at least four coats of varnish, with dry time between each coat. Wipeable varnish builds more slowly, and ten or more coats may be necessary. If you are using a brush, the final coat would ideally be pure varnish. Add just enough solvent to make the mixture spreadable.

Varnish is the perfect finish for products that need long lasting, durable protection. Unlike lacquer, varnish holds up to outdoor elements like the sun, wind, and rain. Unlike polyurethane, varnish does not leave any sort of color cast on the material.
Varnish Types
All varnish has at least three components: an oil or water base, a resin solid, and a solvent. The varnish dries or ‘cures’ to a hard protective finish as the solvents evaporate. Some varnishes include a chemical catalyst that encourages hardening. Different combinations of base, resin, and solvent produce varnishes with differing properties.
Varnish Bases
Varnish base can be water or one of several different oils.
Water-Based Varnish
One of the most attractive qualities of water-based resin is ease of clean up. No chemicals are required to clean brushes and trays, just water and liquid dish soap.
Varnish made with water instead of oil tends to stink less and release fewer VOCs than oil-based varieties.
It also dries more quickly. However, water-based varnish does not penetrate as deeply into the surface of wood as oil-based products.
Oil-Based Varnish
The oils typically used to create varnish are: linseed oil, tung oil, modified soybean oil, and modified safflower oil. When combined with alykd resins, soybean oil produces a non-yellowing, low-VOC varnish. Linseed and tung oil are generally used for outdoor applications.
Long oil varnishes have a higher concentration of oil than short oil varnishes. Long oil varnishes are therefore more flexible, allowing the wood to respond to changes in temperature and moisture. For this reason, long oil varnishes are usually intended for outdoor use.
Varnish Resins
The resins used to create oil-based varnish can be urethane, phenolic, or alkyd.
Urethane
Choose a varnish that contains urethane resin when you’re looking for the toughest, most durable finish that will resist scratch, heat, and moisture damage. Urethane resin-containing varnishes can be used indoors or outdoors.
Phenolic
This kind of resin has a natural amber tint that will deepen to a yellowish glow. This yellowing can enhance certain darker varieties of wood, but is generally not attractive on light wood. It tends to be more expensive than alkyd or urethane resin-containing varnishes, but it also cures to a harder finish. Phenolic resin varnishes are generally intended for exterior use.

Alkyd
The most popular version of varnish is made with an alkyd resin. This is the varnish you’re most likely to end up with if you walk into a paint store and choose one off the shelf. Alkyd resin-containing varnishes are generally used indoors, although outdoor formulations exist.
Special Types of Wood Varnish
There are a few special types of wood varnish you should know about.
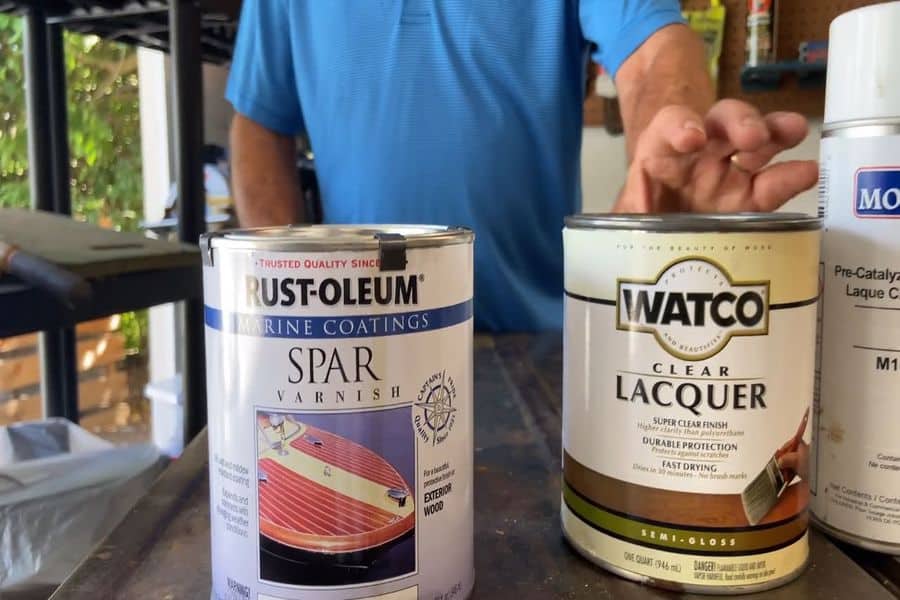
Spar Varnish
Spar varnish is an exterior product with a high oil content. This concentration produces a flexible, elastic, and waterproof finish that helps wood survive wind, water, and salt damage. Applying spar varnish is simple, and is a great finish for outdoor items with frequent moisture.
Marine Varnish
Similar to spar varnish, marine varnish finish has a high oil content. It also contains UV absorbing and/or blocking ingredients. Marine varnish is often used on boats, and is the best choice for varnishing wood that spends most of its time in direct sunlight.
Conversion Varnish
Conversion varnish hardens through chemical reactions as well as evaporating solvent. A catalyst is a chemical added to the varnish in precise amounts before application. The chemical catalyst reacts with the varnish and initiates a hardening process when exposed to air.
‘Pre-cat’ varnish refers to conversion varnish that has been pre-catalyzed. Pre-cat varnish is best for beginning varnishers, as it has been precisely mixed with no room for error.
If you mix a lot of varnish, you may choose ‘post-cat’ varnish. The catalyst is kept separate from the oil and resin mixture until just before application. Precise measurements are important to produce the desired chemical reaction, so this is more of an expert method.
Once the catalyst has been added to the varnish, a timer starts ticking. The pre-cat varnish with the longest shelf life lasts nearly one year on the shelf. Other formulations may only last for four months or even less.
Conclusion
Use varnish to seal, protect, and beautify wood. Solvent is used to dilute varnish to an appropriate concentration. Apply varnish with a brush or rag, sanding between each coat.
